
How to Set Up Meta Integration
This article explains how to integrate your Meta (Facebook) Ad Manager account with Ignite so you can begin syncing audiences and running ad campaigns through Meta.
Watch this video tutorial to see the full integration process in action:
👉 Before following these steps, confirm that you have access to the Meta Business Suite, your Facebook Ad Account ID, and admin permissions in Ignite for the site you are connecting.
Step-by-Step Instructions
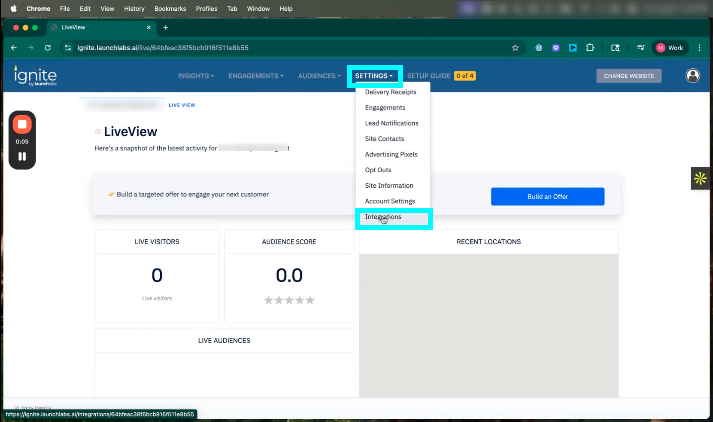
1. Access the Integrations Page in Ignite
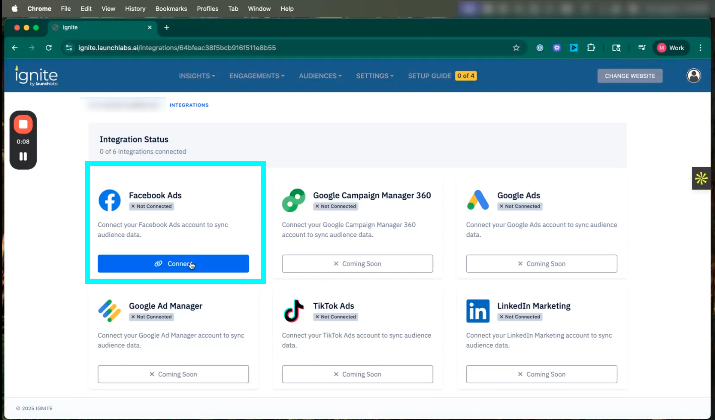
Once you have logged into your account, navigate to the site you want to configure. Click Settings, then select the Integrations tab. Locate the Facebook Ads integration and click Connect, followed by Connect again in the prompt.
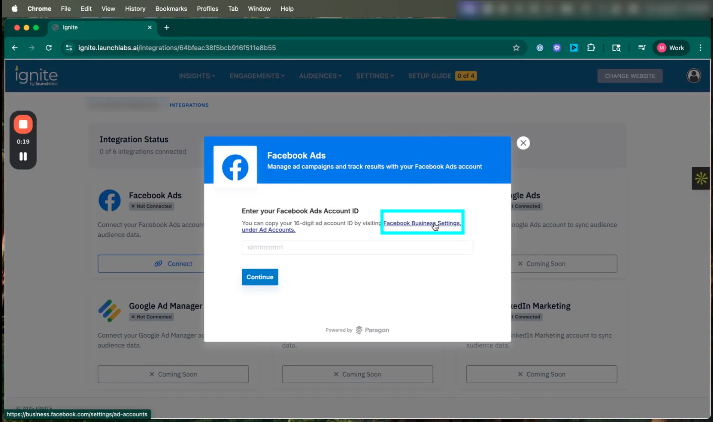
2. Enter Your Facebook Ad Account ID
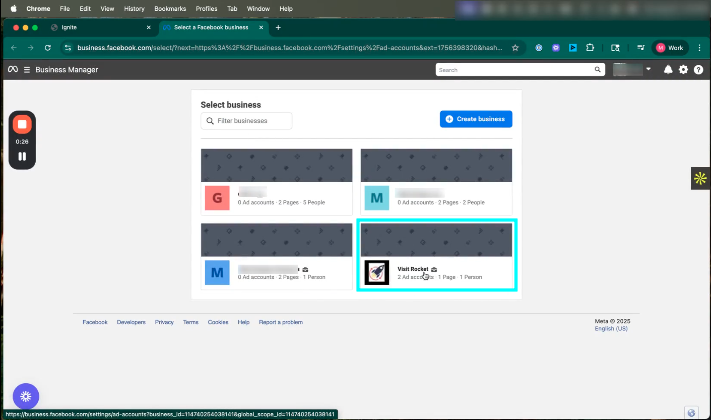
You’ll be prompted to enter your Facebook Ad Account ID. To find this, open Meta Business Suite, go to the Ad Accounts section, and locate the numeric ID beneath the account name. Copy this ID.

3. Paste the ID into Ignite
Return to Ignite and paste the copied Ad Account ID into the provided field. Click Continue to proceed.

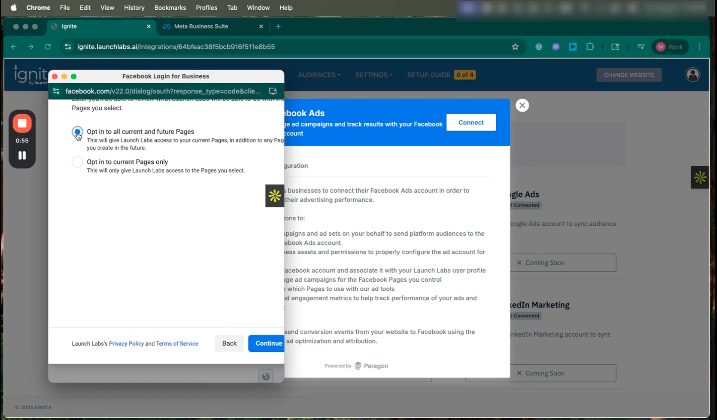
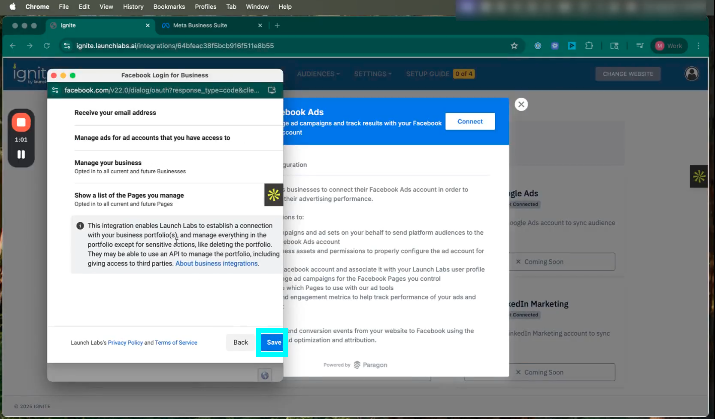
4. Confirm and Finalize the Connection
A dialog box will appear prompting you to confirm the Ad Account and complete the integration setup. You’ll be shown Meta’s Privacy Policy and Terms of Service, along with configuration settings. Choose the options that best fit your preferences, then click Save. When prompted, click Got It to close the dialog box and finalize the connection.
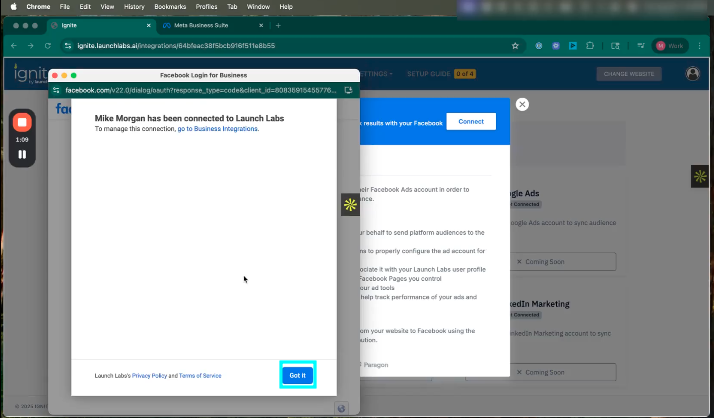
You’ve successfully connected your Meta Ad Manager account to Ignite. You can now begin exporting audiences and leveraging Meta ads within your campaign workflows.
👉 To continue the process, check out the follow-up article: How to Export Audiences from Ignite to Meta