
How to Set Up Google Ads Integration
This article explains how to connect and configure your Google Ads account with Ignite allowing you to sync audiences and run targeted ad campaigns directly in Google Ads.
Watch this video tutorial to see the full process in action:
👉 Before getting started, make sure you have admin access to the Google Ads account you want to connect, your Google Ads Account ID, and admin permissions in Ignite for the website you’re linking.
Step-by-Step Instructions
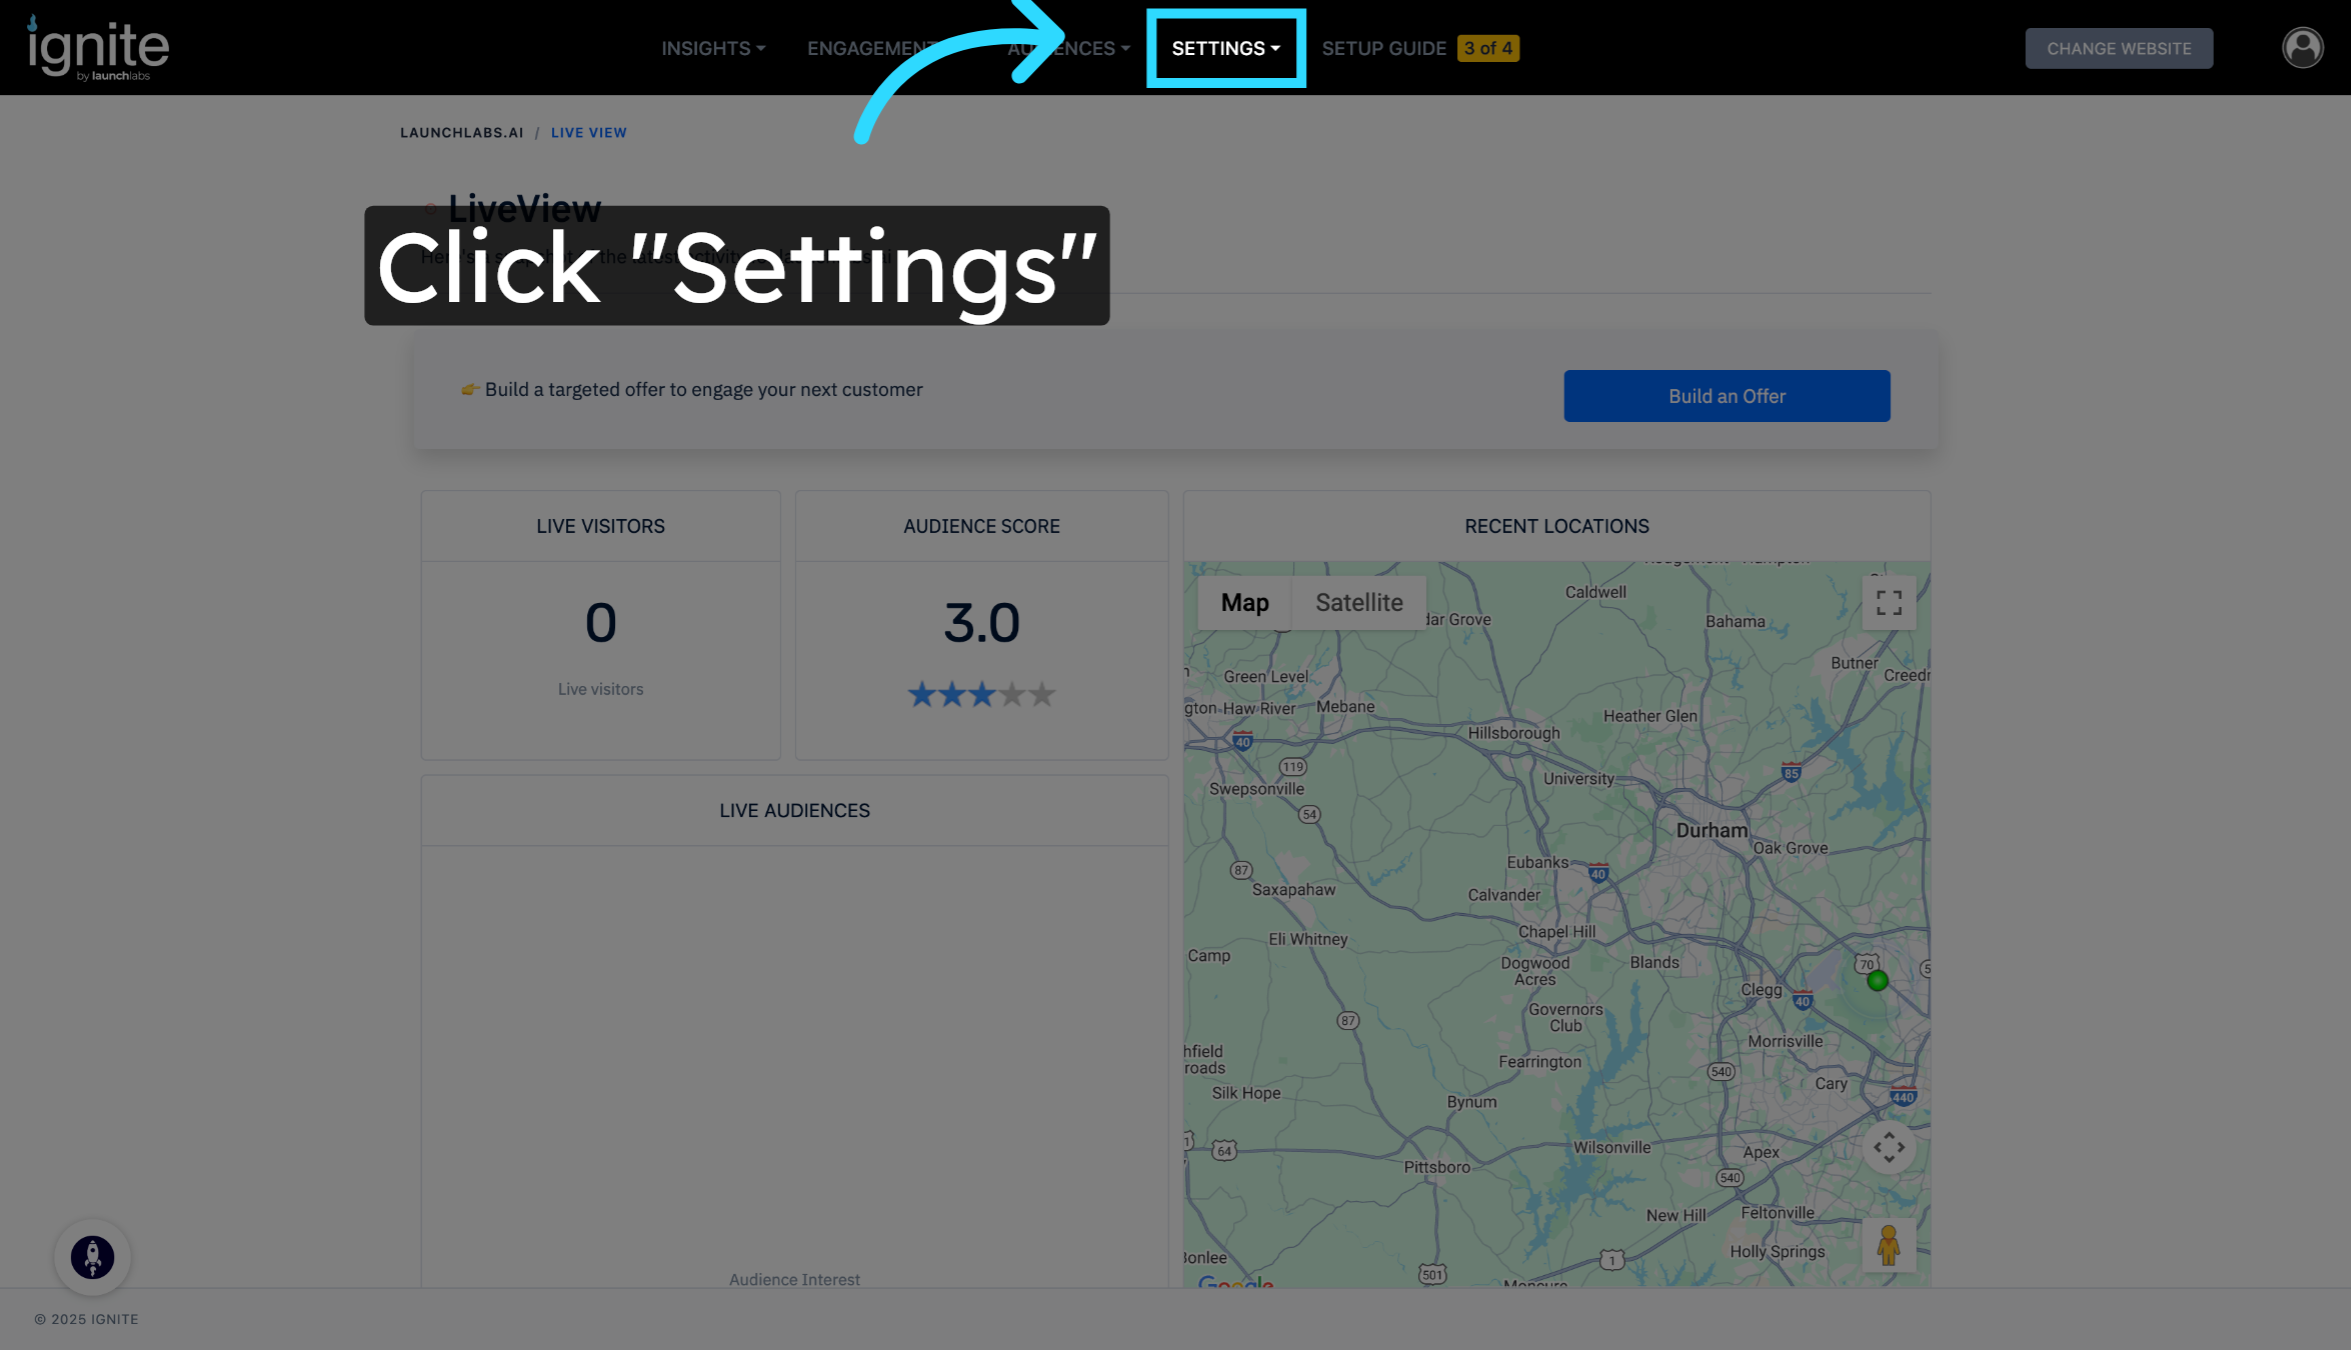
1. Access the Settings Menu
From your Ignite dashboard, click Settings in the top navigation bar to access your platform configuration options.
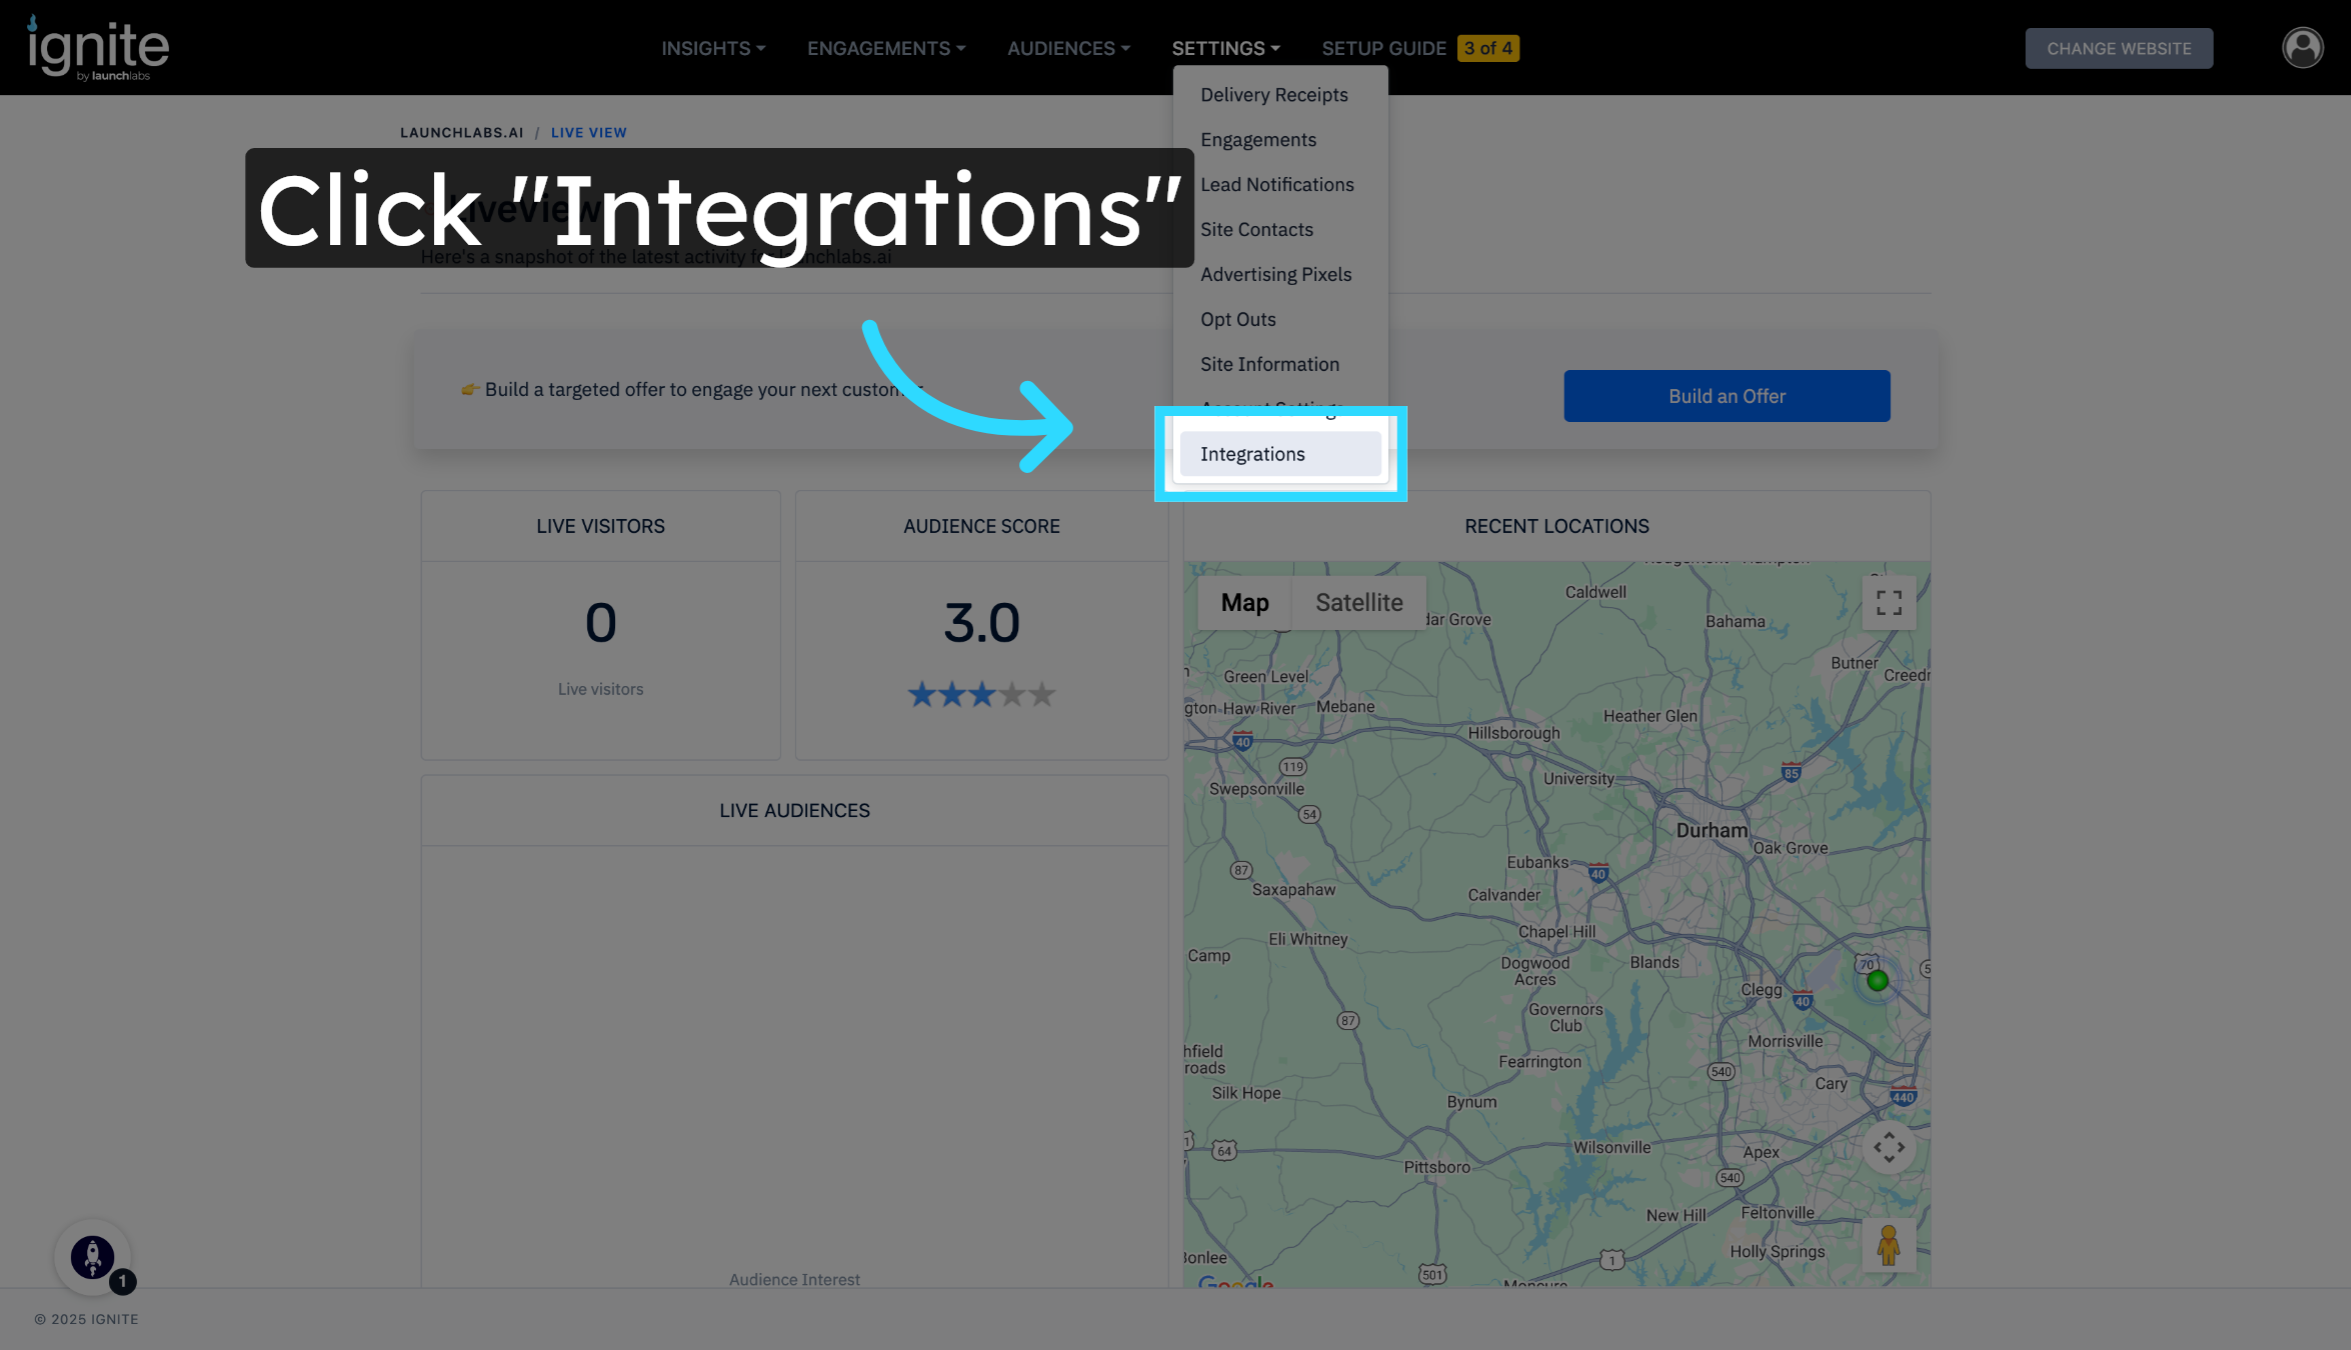
2. Open the Integrations Page
Select Integrations from the left-hand menu to view available connection options.
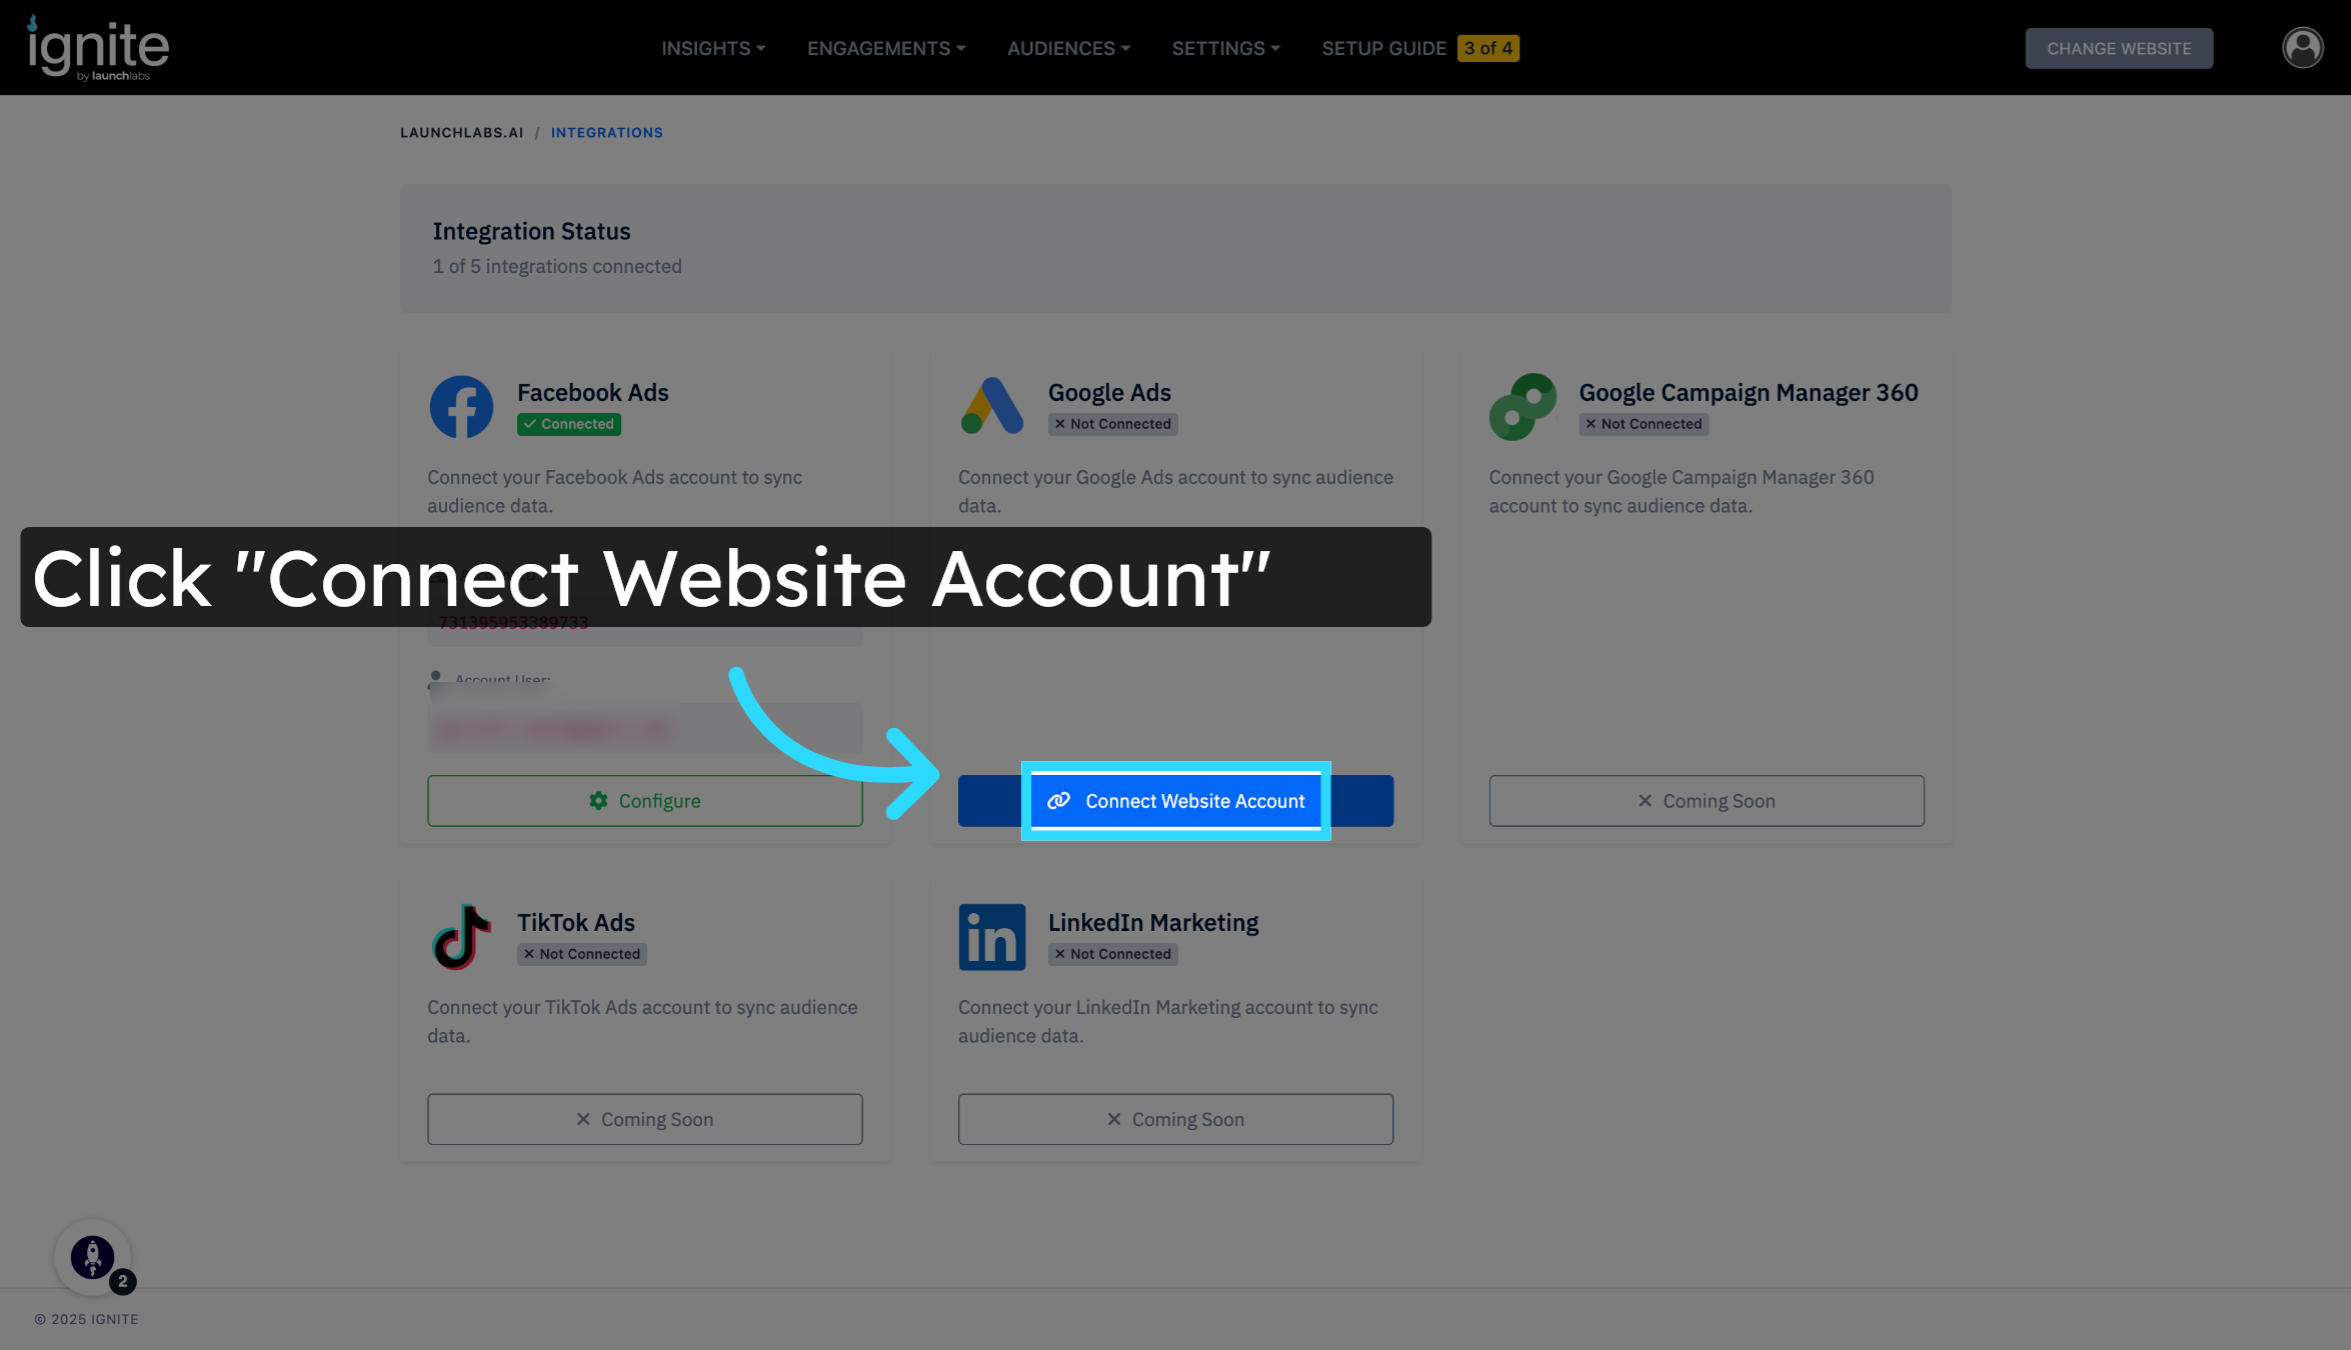
3. Connect Your Website Account
Click Connect Website Account to begin linking your Ignite account with Google Ads.
When prompted, sign in using the Google account that has admin access to your Google Ads account to continue the integration.
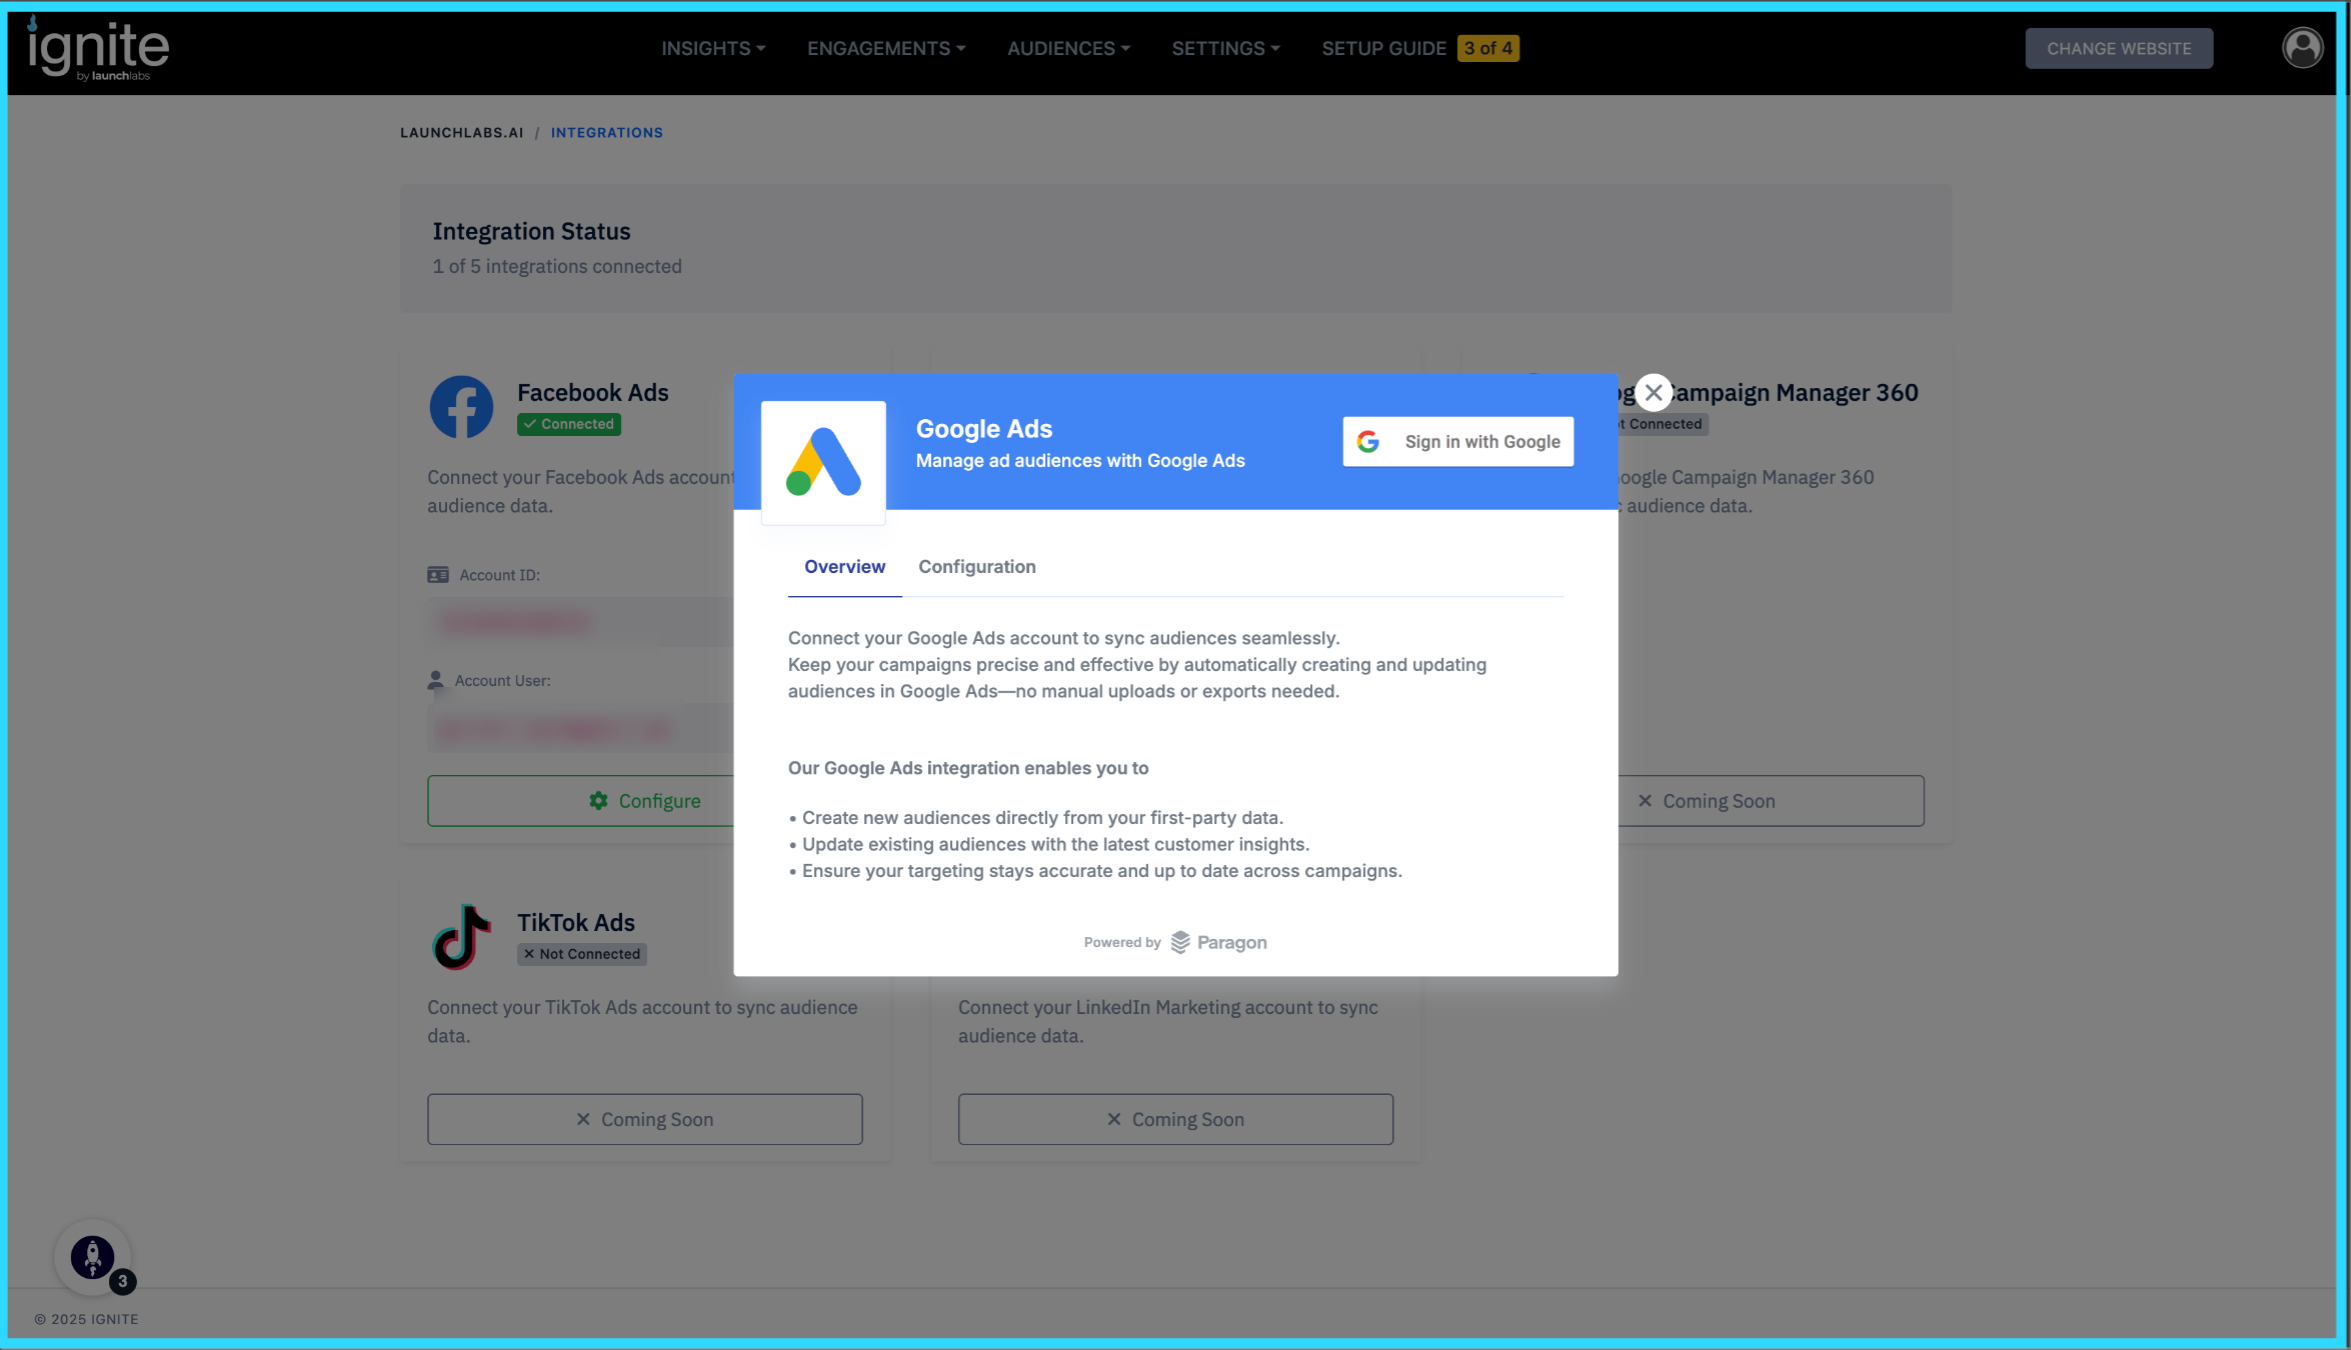
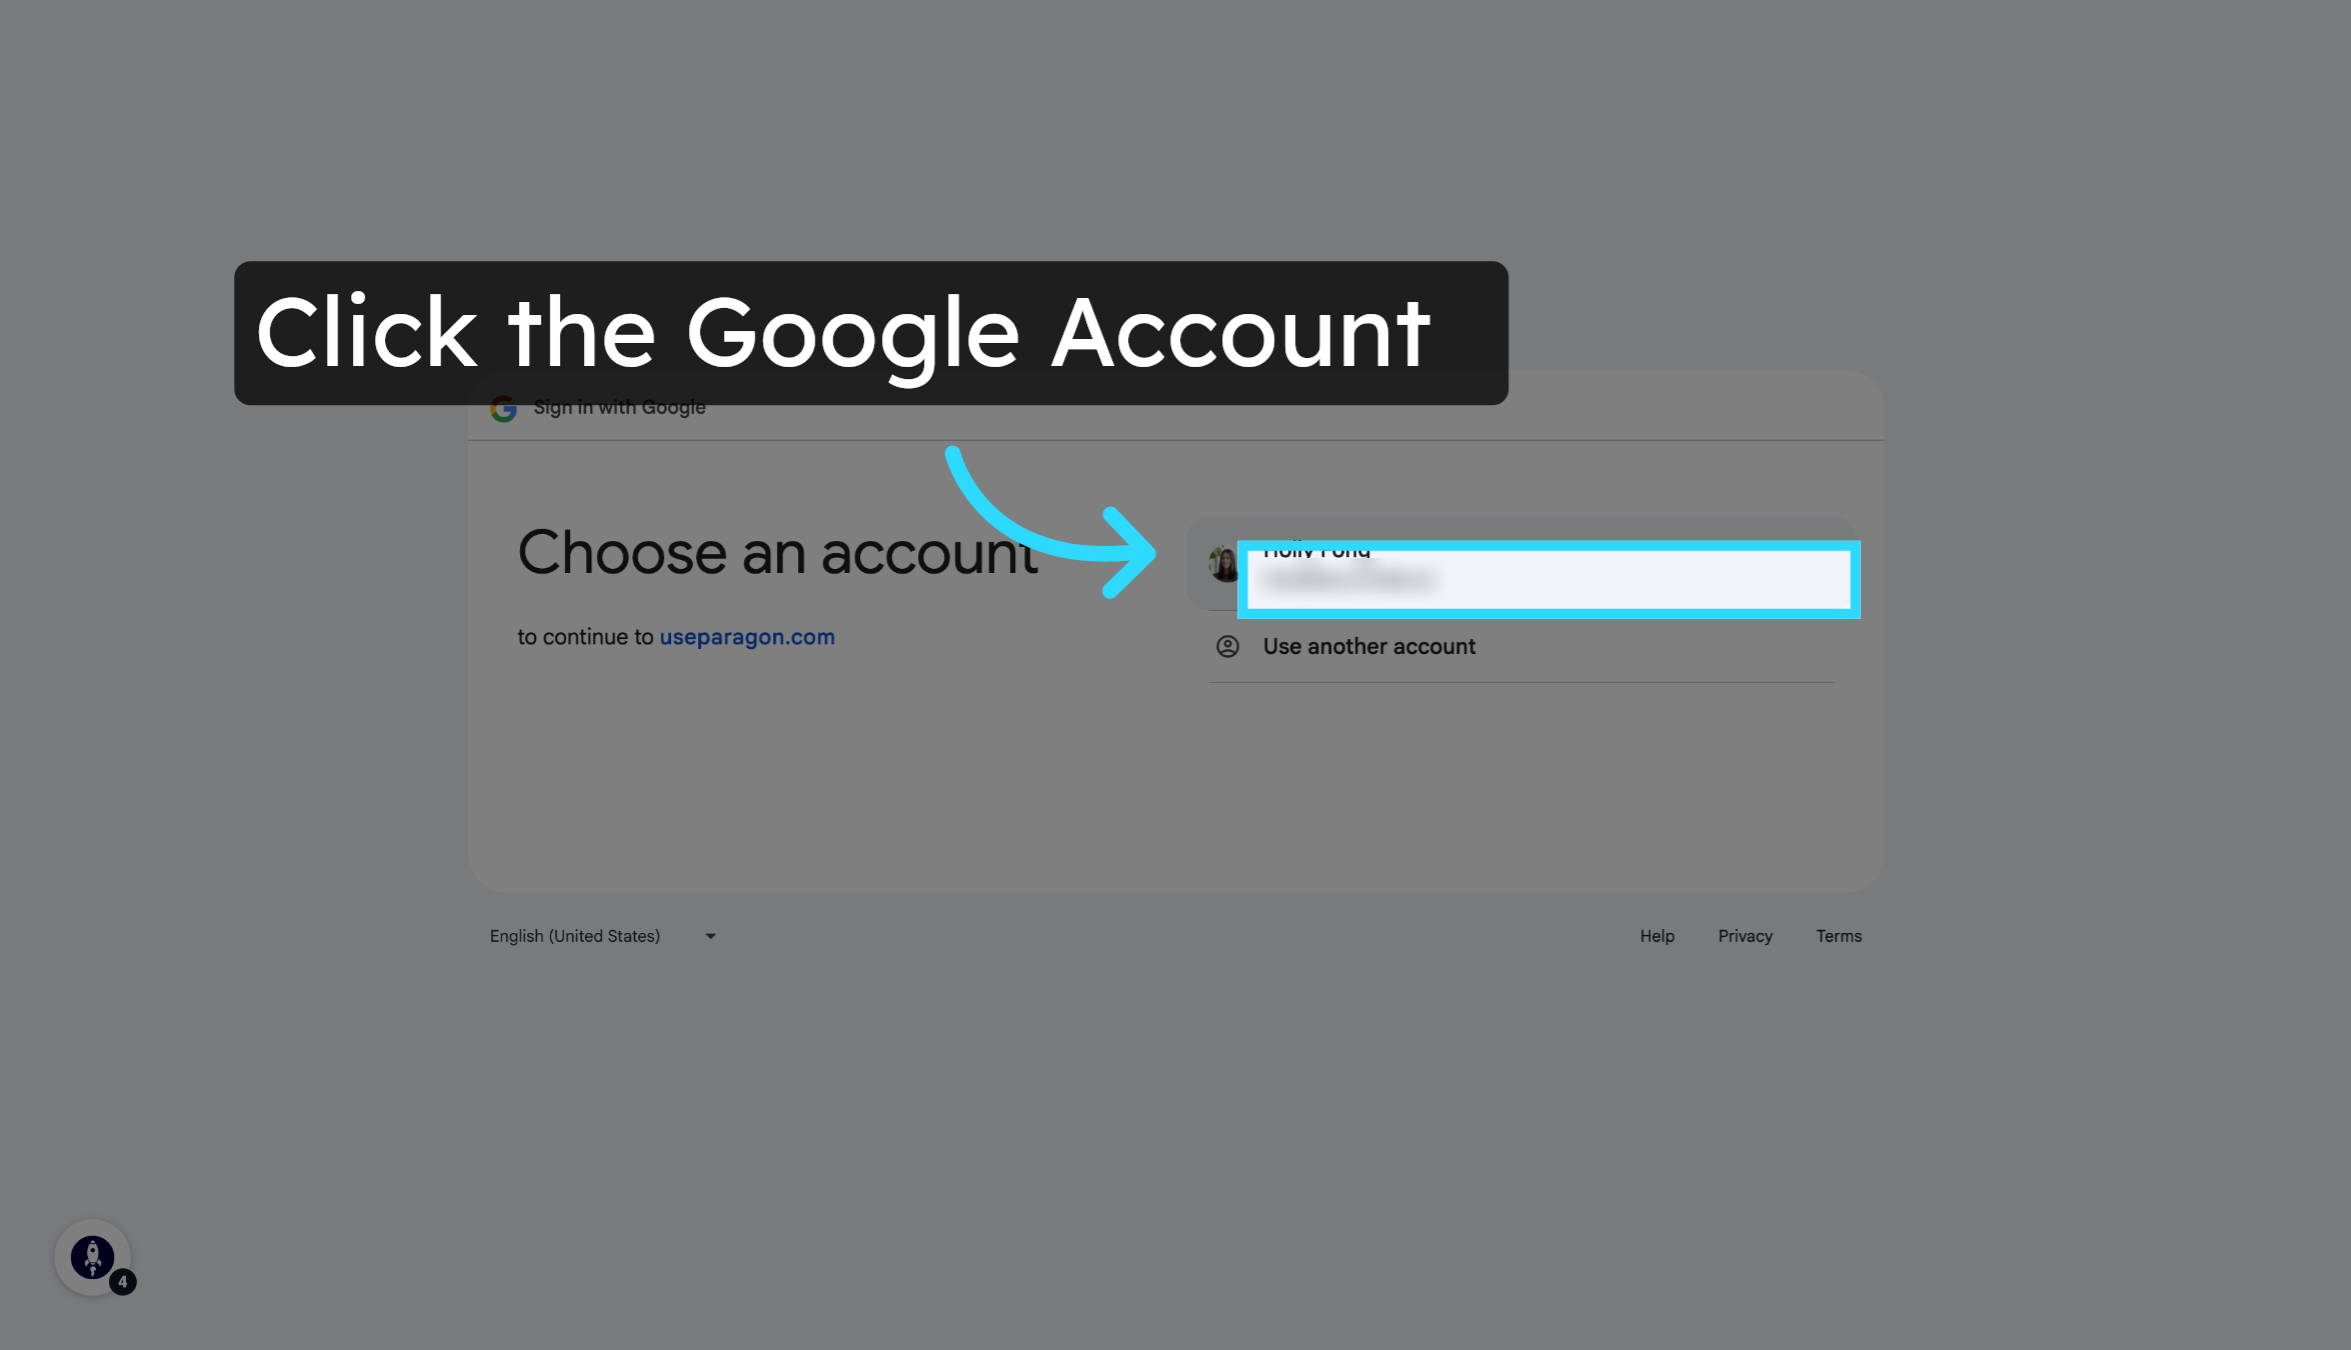
4. Authenticate Your Google Account
Choose the Google Account you want to connect.
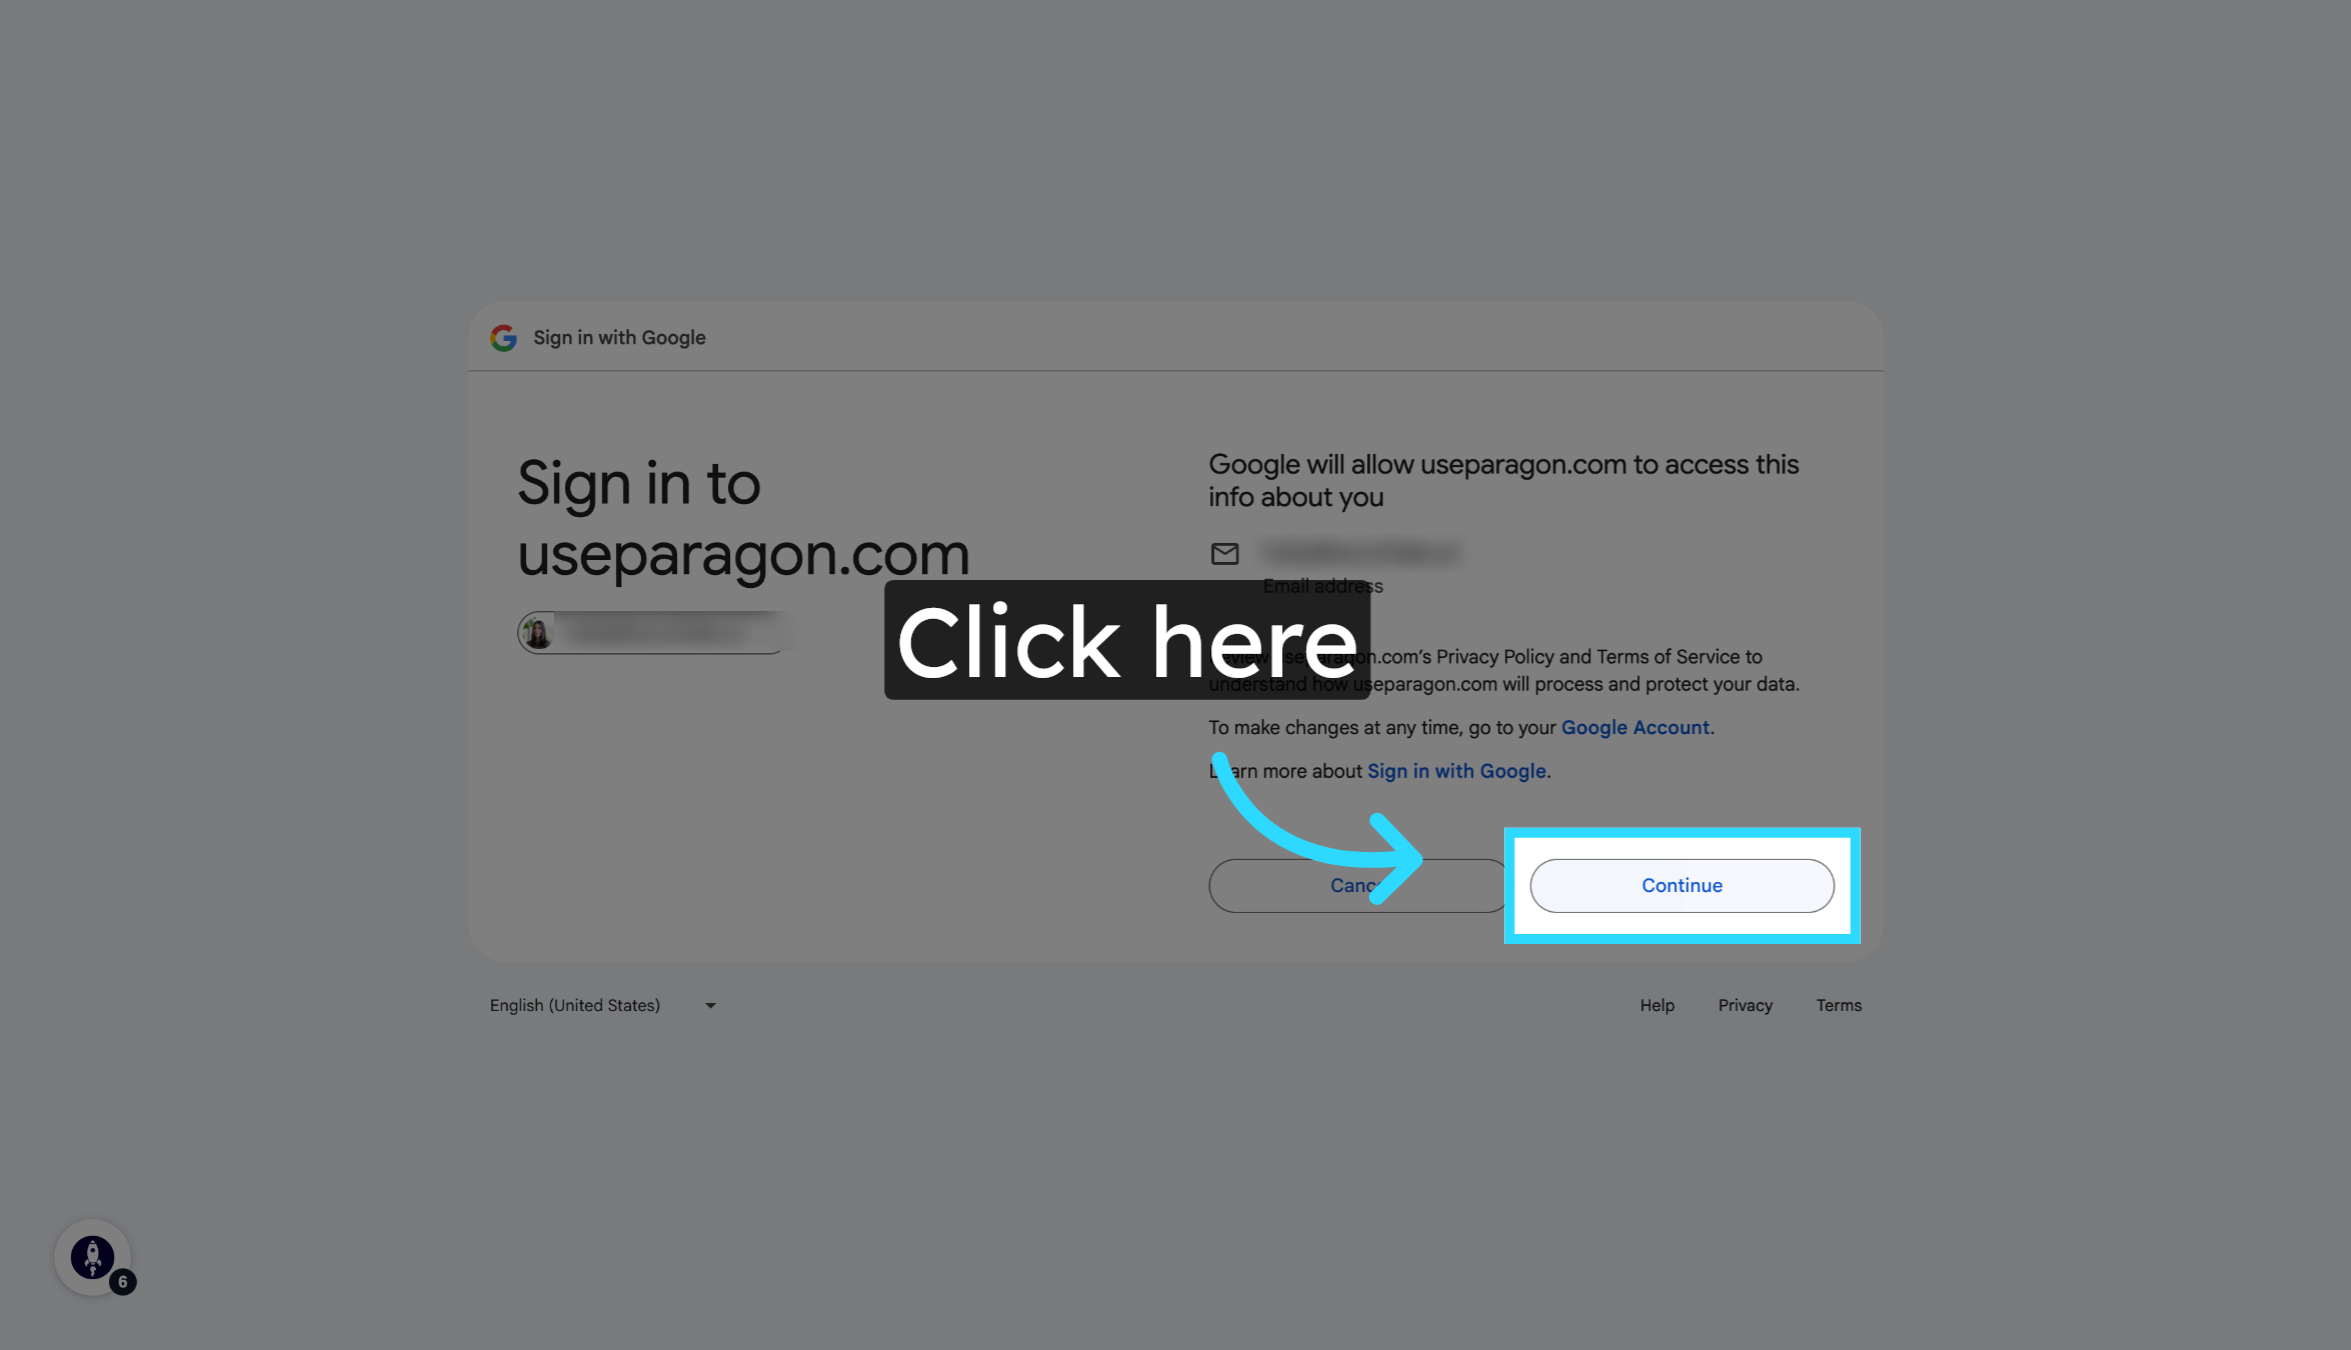
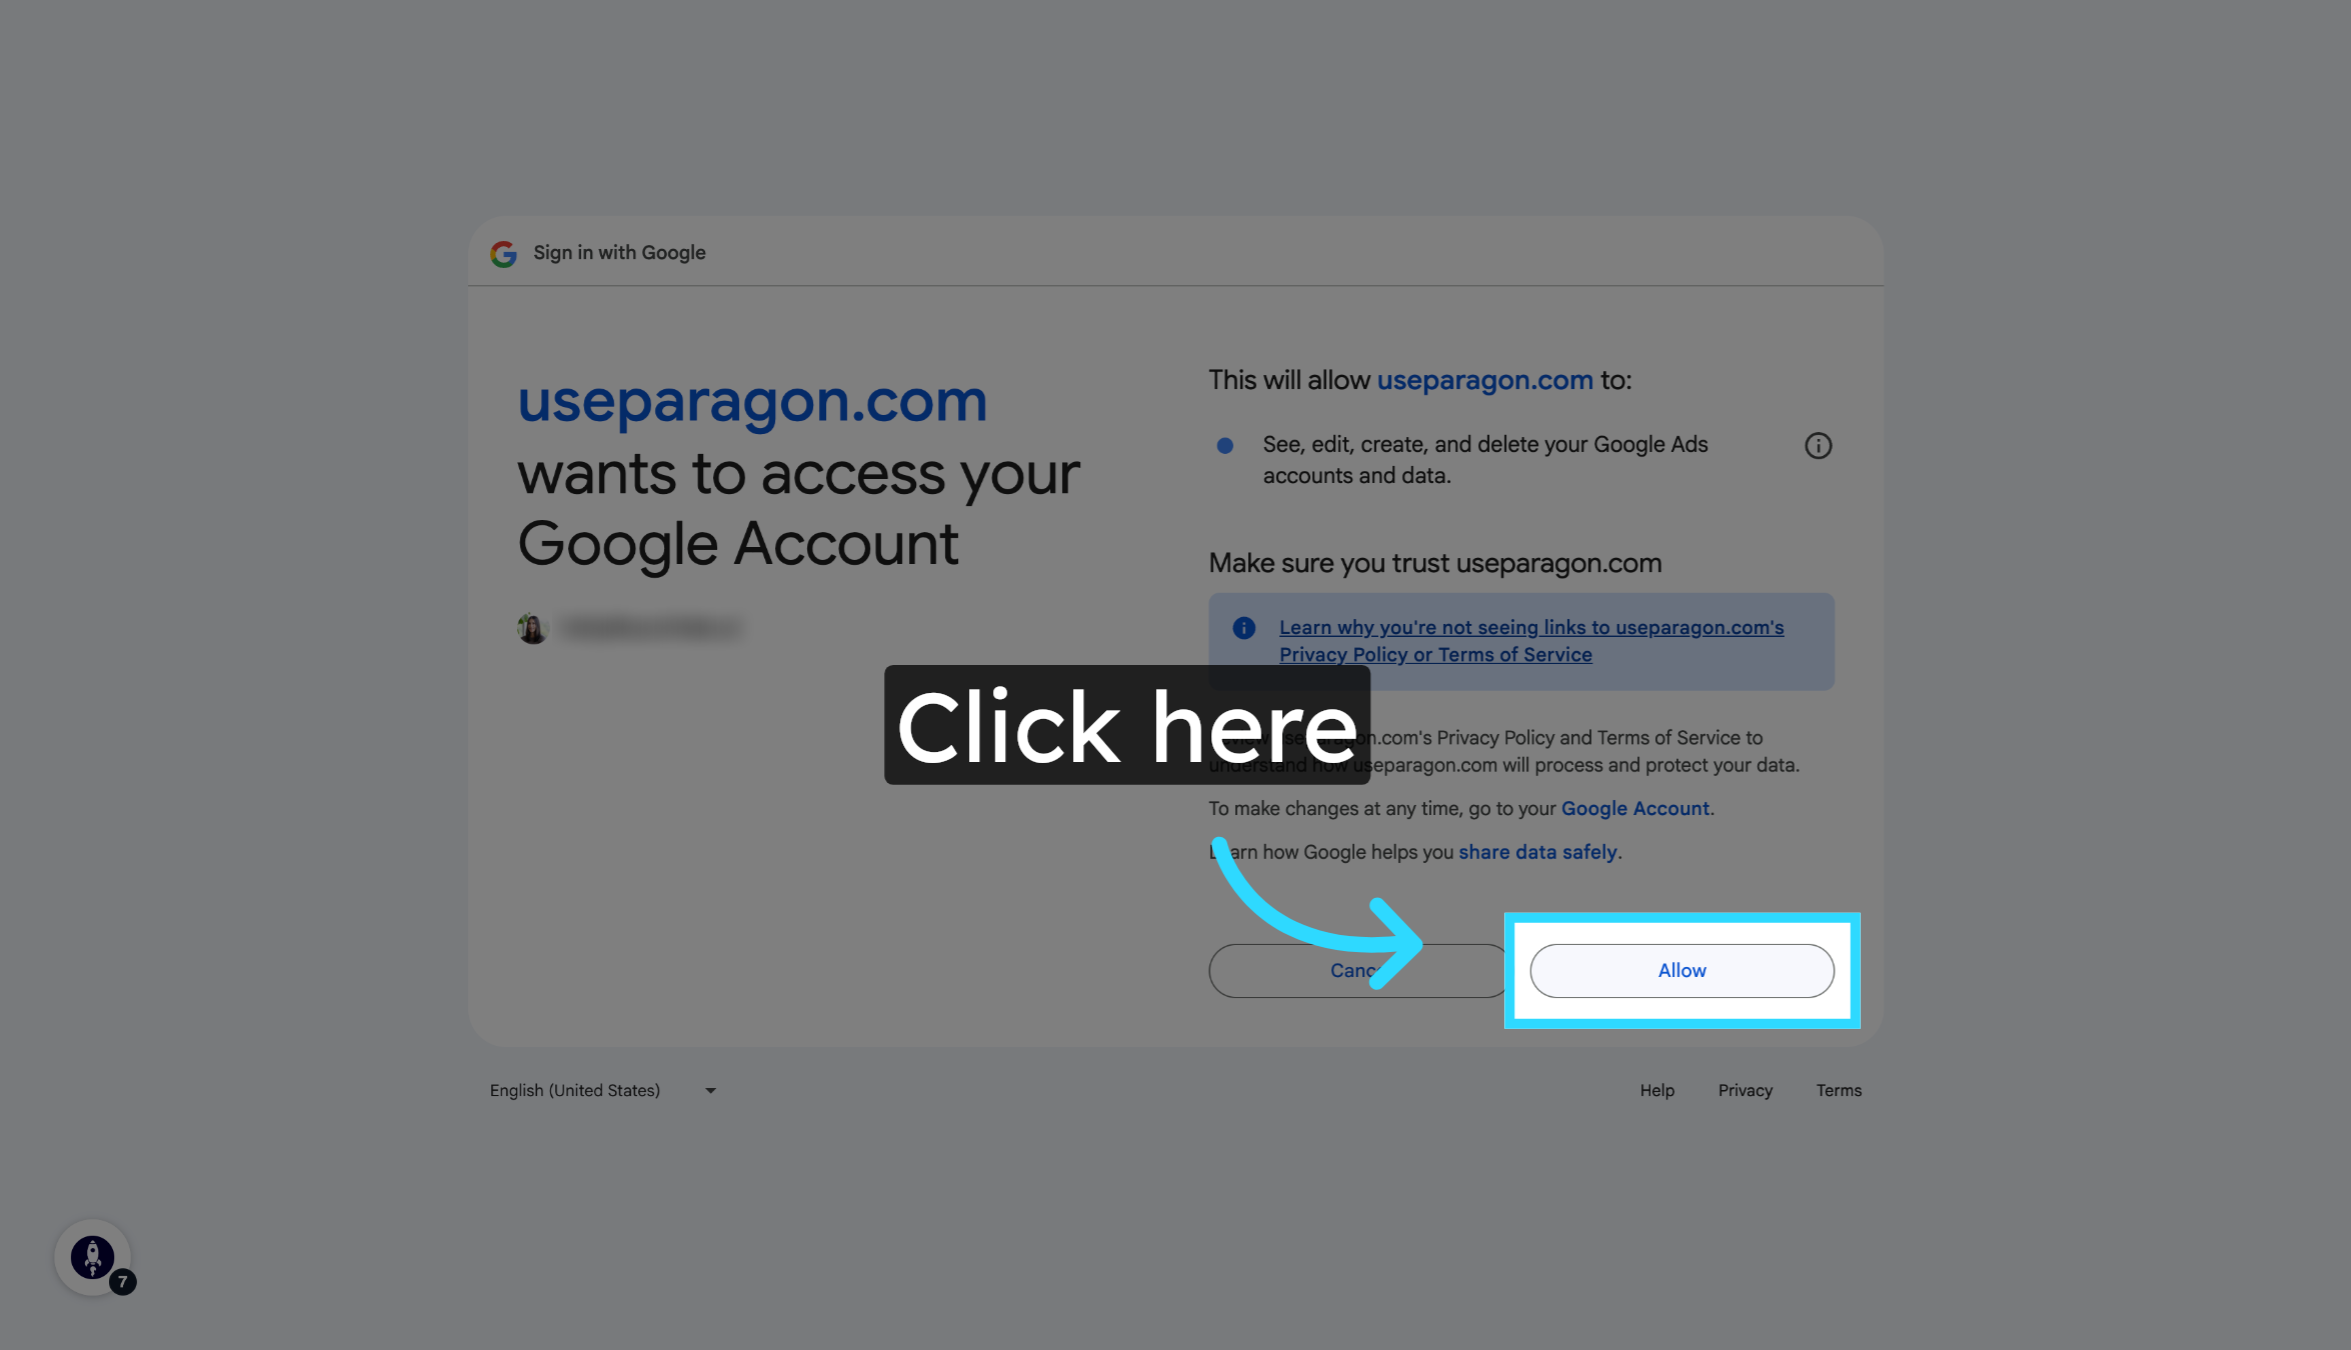
Grant permissions to allow Ignite access for integration.
Confirm your account selection to continue.
Once authentication is complete, you’ll return to Ignite.
5. Locate the Google Ads Integration
On the Integrations page, find the Google Ads block and click Configure to begin setup.

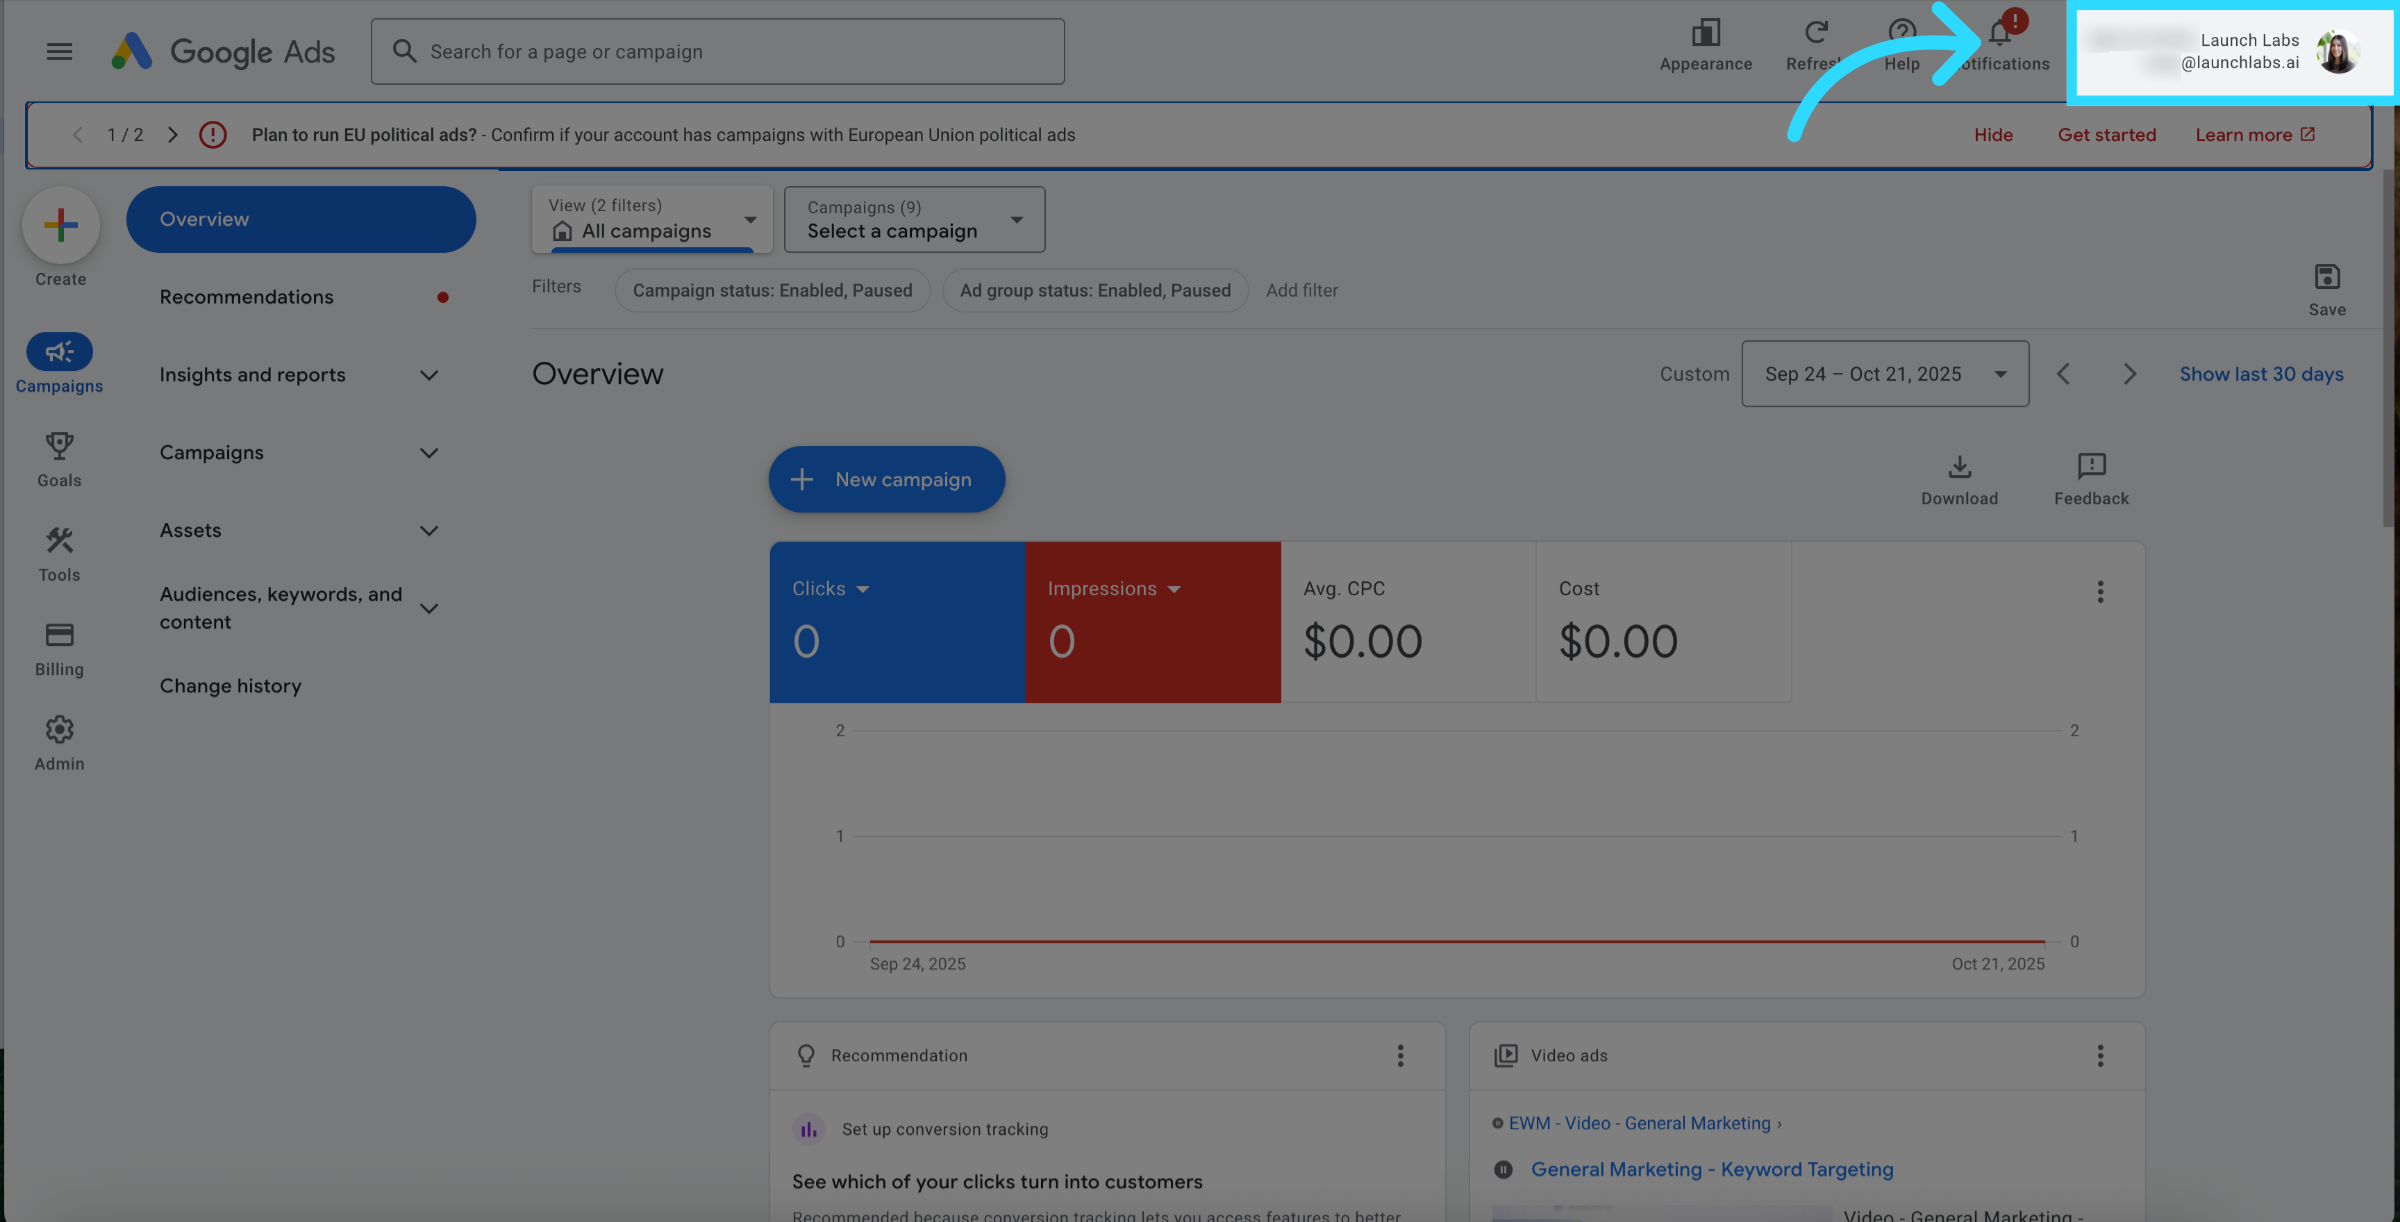
6. Find Your Google Ads Account ID
To locate your Google Ads Account ID:
Go to your Google Ads Management Page (ads.google.com).
In the top-right corner of the page, you’ll see your 10-digit Account ID (formatted as
###-###-####).Copy this number — you’ll need it for the next step.
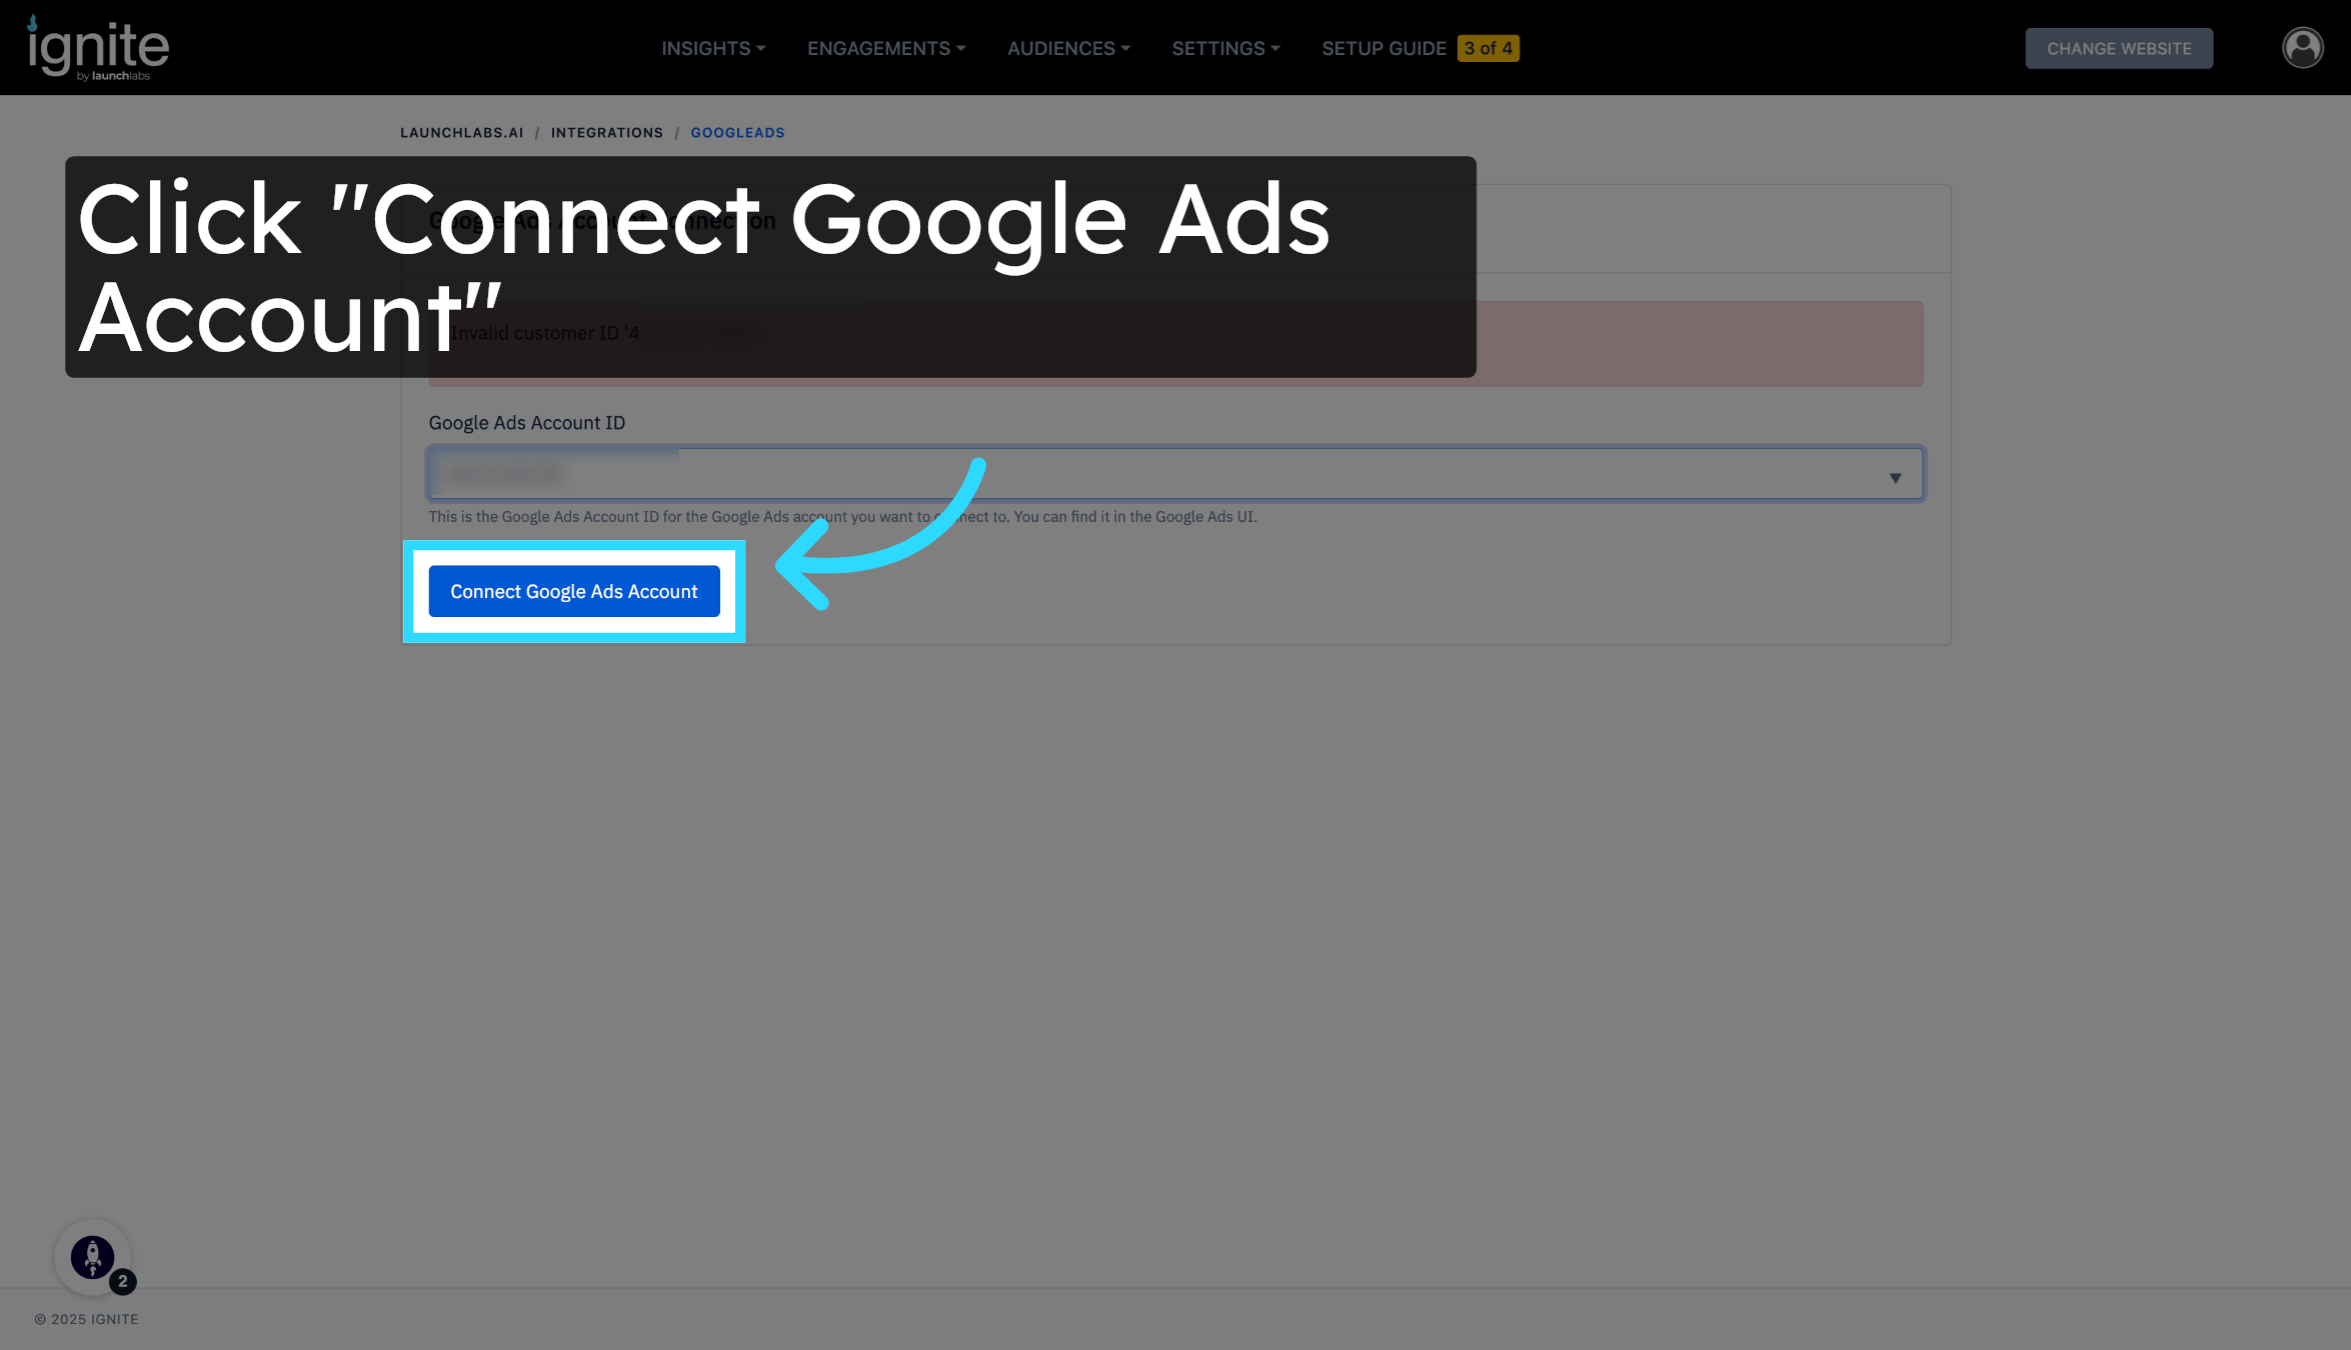
7. Enter and Connect Your Account
Return to Ignite and click inside the Google Ads Account ID field.
Paste your 10-digit Account ID.
Click Connect Google Ads Account to authorize and finalize the integration.
8. Confirm and Return
After the connection is complete, click Back to Integrations to return to the overview page.
